
How to Felt a Flat Roof
TL;DR — Key Points:
- Roofing felt is a traditional waterproofing underlayer — used primarily on residential flat roofs and low-slope shed roofs
- Surface preparation is everything — the deck must be clean, dry, smooth, and structurally sound before any felt is applied
- Work bottom to top, overlap generously — each layer overlaps the one below to shed water away from seams
- Torch-on felt offers superior performance — heat-bonded modified bitumen felt outperforms cold-applied alternatives significantly
- Edge and flashing details are critical — most felt roof failures begin at edges, flashings, and penetrations
- Felt roofing has a limited lifespan — typically 10–15 years; modern membrane systems offer better long-term value
- Professional installation recommended — improper felting is a leading cause of flat roof leaks and early failure
Roofing felt — sometimes called bitumen felt or roofing felt membrane — is one of the oldest and most widely used waterproofing materials for flat and low-slope roofs. While modern single-ply membranes like TPO, EPDM, and PVC have largely replaced traditional felt on commercial flat roofs, felting remains a common and cost-effective approach for residential flat roofs, garage roofs, shed roofs, and smaller outbuilding applications.
At The Flat Roof Specialists, we’ve been installing, repairing, and maintaining flat roofs throughout North Carolina, South Carolina, Tennessee, Georgia, and Virginia for over 25 years. With more than 100 five-star reviews and certified expertise across all flat roofing systems, we understand when felt is the right choice — and when a property owner would be better served by a modern membrane. If you’re in Raleigh, Durham, Greensboro, or anywhere in our service area and want professional guidance on your flat roof project, give us a call at 919-834-7663.
What Is Roofing Felt?
Traditional roofing felt is an asphalt-saturated mat made from either organic materials (recycled paper or wood fiber) or fiberglass. It comes in rolls and is applied in overlapping layers to create a water-resistant barrier across the roof deck. Two primary types are used on flat roofs:
- Cold-applied felt — adhered using bitumen adhesive applied cold or at low temperature. More accessible for DIY applications but generally less durable than torch-on systems.
- Torch-on (hot-applied) modified bitumen felt — a superior product where the felt is heat-bonded to the deck using a propane torch. Creates a much stronger, more waterproof bond and is the standard for professional flat roof felting.
For most residential flat roofs, a two- or three-layer felt system is used — a base layer, sometimes an intermediate layer, and a top cap sheet that provides the final weatherproof surface and UV protection.
Step 1: Assess and Prepare the Roof Deck
No felt installation can succeed without a properly prepared deck. Begin by inspecting the existing roof deck for soft spots, rot, delamination, or damaged boards. Any compromised decking must be replaced before felt is applied — felting over a weak or uneven deck leads to early failure and potential structural issues.
The deck surface must be clean, completely dry, and free of protruding nails, staples, or debris. Sand or plane down any raised edges or ridges — even small bumps can create stress points in the felt that lead to cracking and water ingress over time. If the existing deck has any significant imperfections, installing a new layer of 18mm exterior-grade plywood over the top creates an ideal smooth substrate.
Check the deck’s slope as well. A minimum fall of 1:80 — approximately 1/4 inch per foot — is recommended for felt flat roofs to prevent standing water. If the deck is truly level, consider adding tapered insulation or built-up firring strips to create adequate drainage before laying felt.
Step 2: Apply the Base Layer
For a cold-applied system, begin by priming the deck with a bitumen primer and allowing it to tack off before applying the base layer felt. For torch-on systems, no primer is typically required, but always follow the manufacturer’s instructions for your specific product.
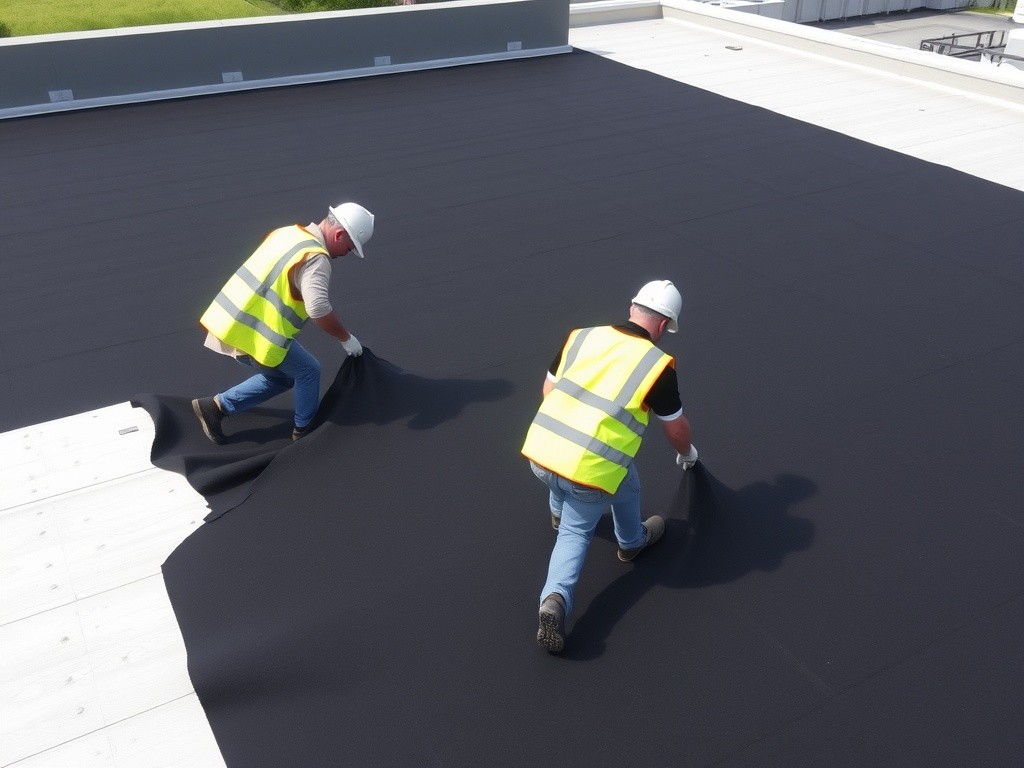
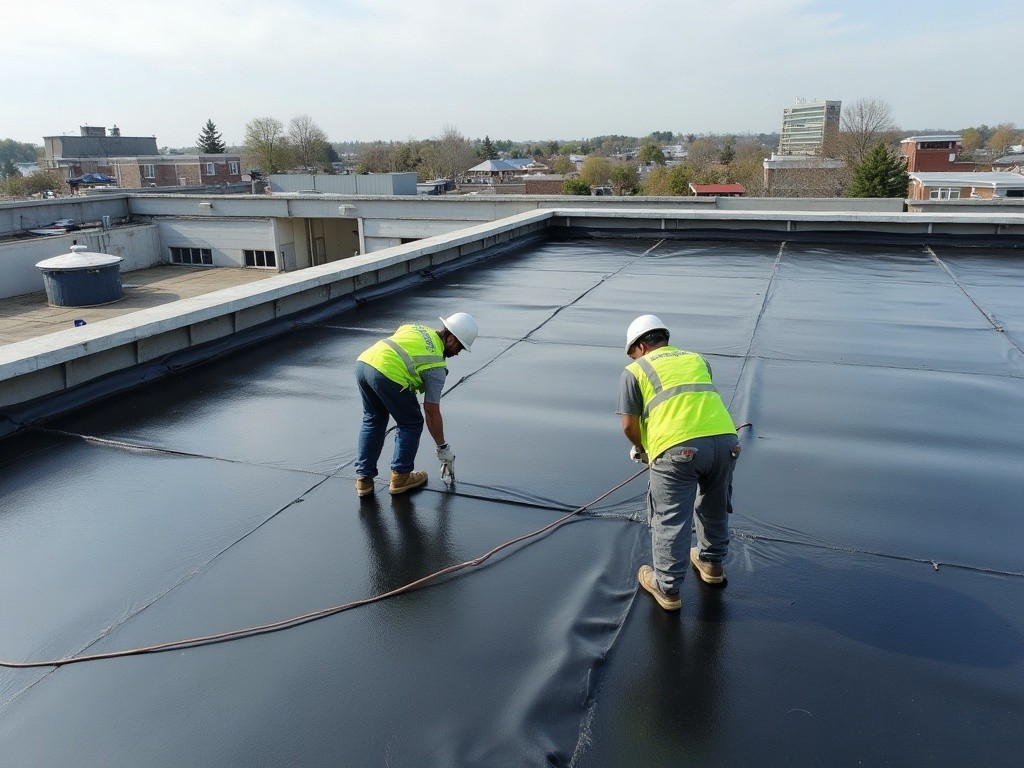
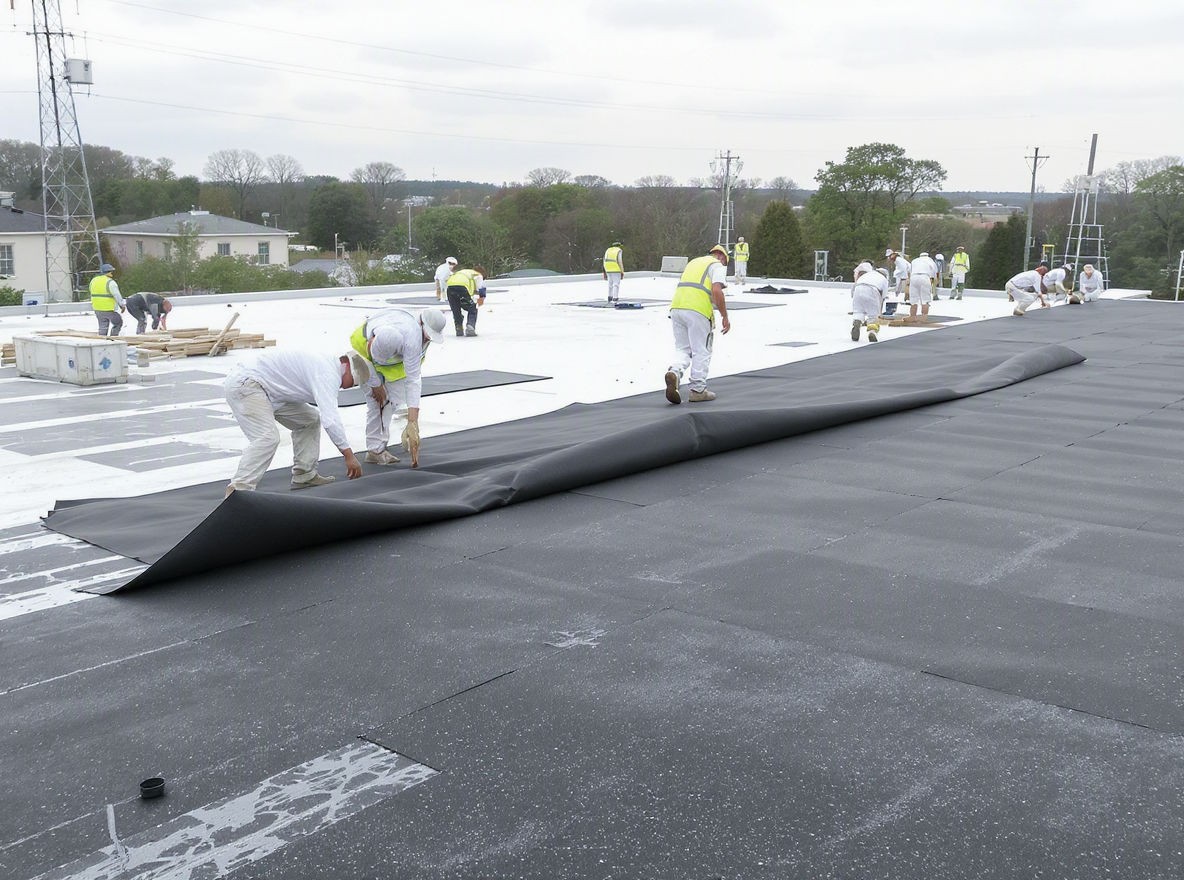
Roll the base layer felt out across the deck, starting at the lowest point — the eave or drip edge — and working upward toward the ridge or highest point of the roof. This ensures that each subsequent layer overlaps downhill over the one below, directing water away from seams rather than into them.
For cold-applied systems, bond the felt to the deck using a brush or squeegee to apply bitumen adhesive evenly beneath the sheet, eliminating air pockets and ensuring full contact. For torch-on, move the flame steadily and evenly across the underside of the felt, watching for the bitumen to melt and flow before pressing the sheet firmly into place.
Overlap each roll by a minimum of 75mm (3 inches) at side laps and 150mm (6 inches) at end laps. Press all overlaps firmly to ensure complete bonding and a watertight seam.
Step 3: Apply the Cap Sheet
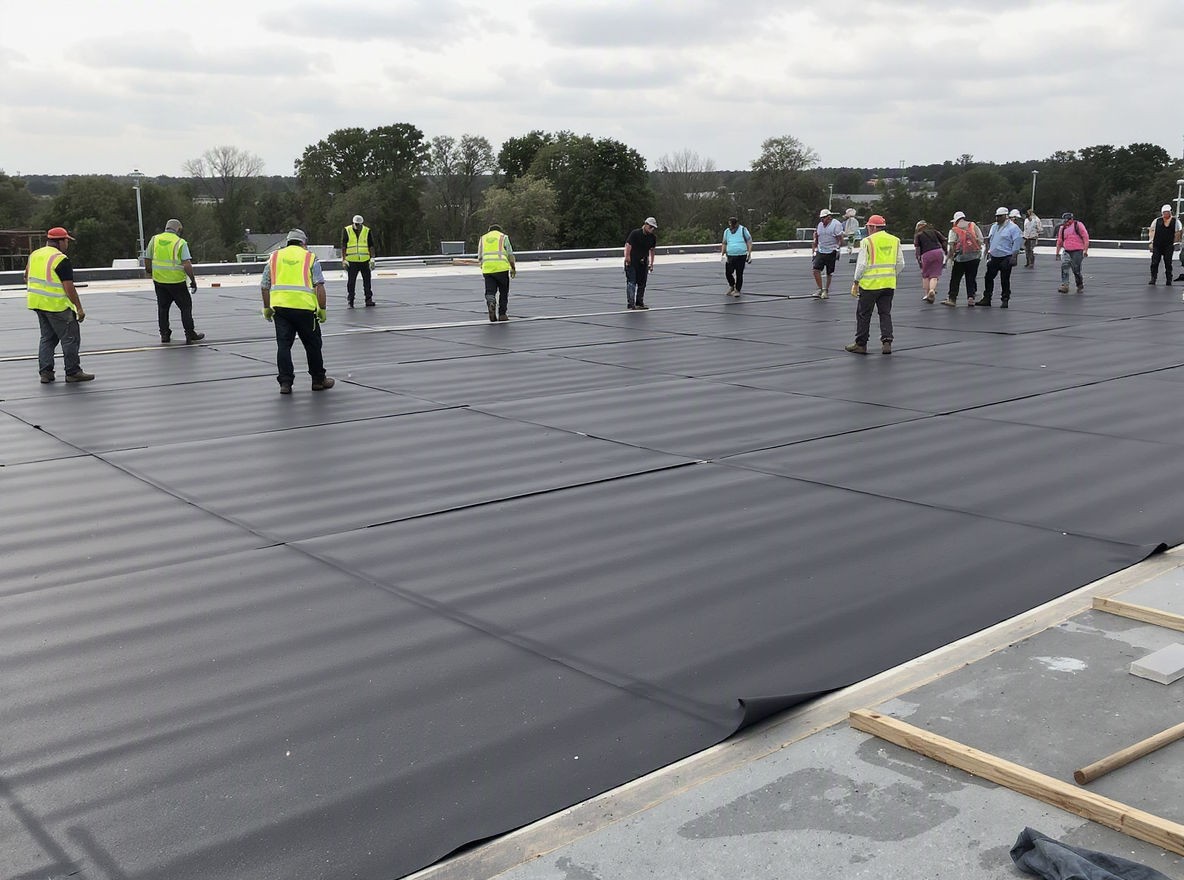
Once the base layer is fully bonded and seams are secured, the cap sheet — the top layer of the felt system — is applied using the same technique. The cap sheet is typically a heavier, mineral-surfaced felt that provides UV protection, weather resistance, and the finished appearance of the roof.
Offset the cap sheet joints from the base layer joints by at least half a roll width. This staggering ensures that no two seams align vertically through the system, significantly reducing the risk of water penetration.
Pay close attention to the edges of the roof. The felt must be dressed over the drip edge or fascia board and secured neatly. Loose or poorly finished edges are among the most common starting points for felt roof failure, particularly in areas that experience strong winds — something property owners throughout High Point, Winston-Salem, and Burlington know well during storm season.
Step 4: Flash All Upstands, Edges, and Penetrations
Flashing is the process of sealing the felt membrane where it meets vertical surfaces — parapet walls, chimney stacks, vent pipes, skylights, or any other protrusion through the roof plane. This step is where most felt roofing failures originate, and it demands careful, patient work.
Cut separate strips of felt to form upstand flashings, bonding them firmly to both the horizontal roof surface and the vertical face of the upstand. The flashing should extend at least 150mm (6 inches) up any vertical surface and be terminated with a metal cover flashing or tucked into a chase in the masonry above.
Around pipe penetrations, use pre-formed pipe boots or cut and fold felt carefully to create a watertight collar, sealing all edges thoroughly. Any gaps or lifted edges at these transitions will eventually allow water entry — and in our experience serving Chapel Hill, Fayetteville, and Raleigh, penetration failures are among the most common service calls we receive on felt roofs.
Felt vs. Modern Membrane Systems
While felting is a well-established technique for smaller residential roofs, it’s worth understanding its limitations. Traditional felt roofing typically has a lifespan of 10–15 years, compared to 20–30+ years for modern TPO, EPDM, or PVC membrane systems. Felt is also more susceptible to UV degradation, thermal cracking, and wind uplift than modern single-ply alternatives.
For commercial flat roofs — or any larger residential flat roof — modern membrane systems installed by certified professionals provide significantly better long-term value. At The Flat Roof Specialists, we specialize in commercial flat roofing installation, repair, and maintenance and also offer top-quality residential roofing services, especially if your home has a flat roof.
Be sure to watch our YouTube videos, read our reviews, and check out our extensive gallery to see our recent work across NC, SC, TN, GA, and VA. Whether you need felt repair, a modern membrane replacement, or a professional assessment to determine the best option for your property, give us a call today at (919) 834-7663 to request a quote.